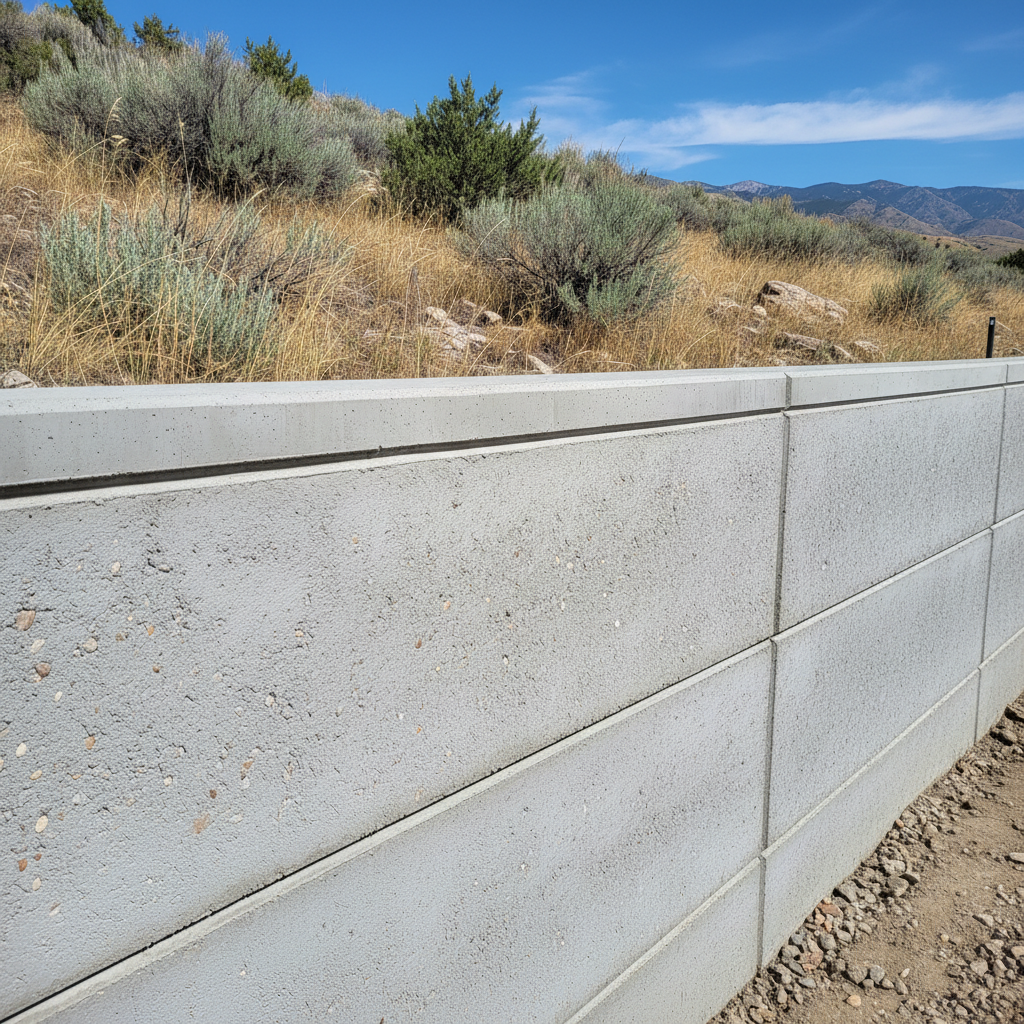
Got a slope in your yard that's causing you grief? Maybe you're dreaming of a flat patio space, or you've got some erosion that needs sorting out. A concrete retaining wall can really solve a lot of landscaping headaches right here in Ogden. But hold on a second before you grab that shovel and a bag of mix. Let's chat about what's actually involved and when it's really time to call in the pros.
Before You Start: Planning & Permits
First things first, you've got to plan. You can definitely handle a good chunk of the initial thinking yourself. Walk your property, figure out exactly where the wall needs to go, and what its main job is. Is it just for looks, holding back a small flower bed? Or is it structural, meaning it's supporting a lot of soil, maybe even part of your house's foundation?
This is where the DIY line starts to get a little fuzzy. If your wall is going to stand more than four feet tall, or if it's supporting a structure, a driveway, or a significant slope, you'll almost certainly need an engineer's design and a permit from Ogden City. Seriously, don't skip this step. It's not just about following rules; it's about keeping everyone safe. A retaining wall that isn't built right can fail, causing a ton of damage and becoming a real danger. For these bigger projects, you'll definitely need professional help with the design and navigating that permit process.
Even for smaller walls, you've got to think about drainage. Water is the arch-nemesis of any retaining wall. You'll need to plan for proper drainage behind the wall to stop hydrostatic pressure from building up and eventually pushing it over. Usually, this means gravel backfill and a perforated drain pipe (what some folks call a 'French drain') that directs water away from the wall's bottom.
During the Build: Digging, Footings & Pouring
Okay, so you've got your plan, maybe even your permit. Now for the actual work. For a small, non-structural wall (say, under 2 feet high, just holding back a garden bed), you might be able to tackle this yourself. You'll need to dig a trench for the footing, which has to be below the frost line here in Ogden – we get some pretty cold winters, and if your footing isn't deep enough, those freeze-thaw cycles will heave your wall right out of the ground. That's a super common mistake I see, by the way.
For these smaller walls, you can mix concrete yourself in a wheelbarrow or a small mixer. You'll pour the footing, then lay your blocks or set up forms for a poured concrete wall. Rebar is super important, even for smaller walls, to give them strength. You'll need to make sure everything is level, plumb, and properly reinforced.
Now, let's talk about when to call Sunrise Concrete, or another reputable contractor. Any wall over 2-3 feet, or anything structural, is where you really want a professional. Here's why:
- Excavation: Digging a deep, wide trench for a substantial footing is a massive job, often needing heavy equipment.
- Footings: These must be perfectly level, properly reinforced with rebar, and poured correctly. Mess this up, and the whole wall is compromised.
- Formwork: If you're going with a poured concrete wall, building sturdy forms that can hold the immense weight of wet concrete without bowing or breaking is a real skill.
- Reinforcement: Knowing the right size, spacing, and placement of rebar for a specific wall design is absolutely critical. An engineer's plan will specify this, but executing it correctly takes real-world experience.
- Concrete Mix & Pour: Getting the right concrete mix, ordering the correct amount, and pouring it without cold joints or segregation is tough. A professional crew can handle a large pour efficiently, ensuring a strong, monolithic wall.
- Drainage: Installing the drainage system correctly, including filter fabric and proper grading, is essential for the wall's long life.
Honestly, for anything more than a small garden border, the risk of failure and the sheer amount of work involved usually make hiring a pro the smarter, safer, and often more budget-friendly choice in the long run. We've certainly fixed plenty of DIY retaining walls that failed after a couple of seasons because corners were cut or critical steps were missed.
After the Project: Curing & Maintenance
Whether you DIYed a small wall or had us pour a big one, the work isn't over once the concrete is placed. Concrete needs to cure properly to reach its full strength. This means keeping it moist for at least 7 days, sometimes longer depending on the mix and weather. You can do this by misting it with water, covering it with plastic sheeting, or using a curing compound. Just don't let it dry out too fast, especially during our hot Ogden summers.
Once it's cured, concrete retaining walls are pretty low maintenance. Just keep an eye on the drainage system to make sure it's not clogged. Check for any cracks – small hairline cracks are usually nothing to worry about, but larger, active cracks that are widening or showing displacement could signal a problem. Also, keep vegetation from growing too close and sending roots into the wall; that can cause damage over time.
A well-built concrete retaining wall will last for decades, adding value and functionality to your property. Just remember to be realistic about what you can handle yourself, and don't hesitate to call in the experts when the job gets serious. It's an investment worth doing right, wouldn't you agree?